How to Build Your First Gaming PC: A UK Beginner's Walkthrough
Three sensible builds, a clear parts list, and where to buy each component — written for first-timers who've never touched a screwdriver inside a PC.
 By Dan Coveney · Founder & Lead Reviewer · Updated June 02, 2026
Building your own gaming rig is far less intimidating than it looks — and in 2026 it's still the smart way to spend your money.
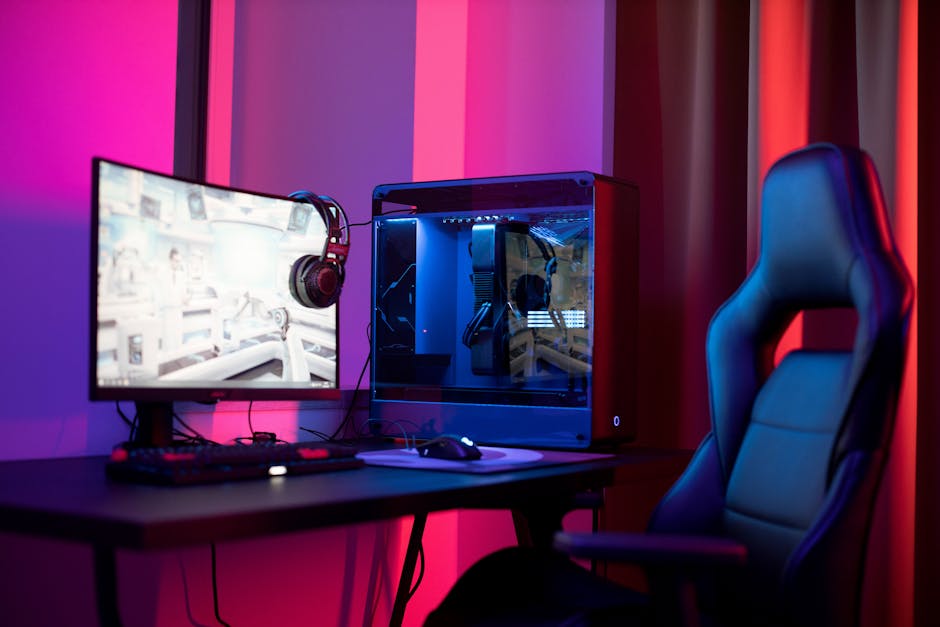
A look at the world of how build gaming pc - the kind of pick this guide is built around.
Let's be honest about the elephant in the room first. 2026 is not the cheapest year to build a PC. A RAM and SSD shortage has pushed memory prices up by roughly 35% compared to late 2025, which means a system that would have cost around $1,200 in mid-2025 now runs closer to $1,500. That sounds gloomy, but the fundamentals are still sound: build it yourself and you'll get more frames per pound than any pre-built box, and you'll understand your machine well enough to upgrade or repair it for years.
Tom's Hardware put it bluntly this year — $500 builds "just won't cut it at today's prices," and they now recommend starting at around $800 for a genuinely viable gaming machine. That's the philosophy I've followed here. No fantasy budgets, no parts you can't actually find in the UK. Just three honest tiers.
What's in this guide
- The three builds at a glance
- Tier 1: The Entry / Budget Build
- Tier 2: The Mid-Range Sweet Spot
- Tier 3: The High-End Future-Proof Build
- Choosing each component explained
- Performance expectations by tier
- Step-by-step assembly walkthrough
- Where to buy in the UK
- Common beginner mistakes
- FAQ and final verdict
The Three Builds at a Glance
Before we dig into individual parts, here's how the three tiers break down. I've named them so we can treat each one like a recipe you can shop for. Pick the row that matches your budget and the resolution you want to game at.
| Build | Target Budget (UK) | Target Resolution | Best For |
|---|---|---|---|
| Entry / Budget | ~£800–£900 | 1080p High | Competitive and esports titles |
| Mid-Range Sweet Spot | ~£1,000–£1,200 | 1080p Ultra / 1440p High | Best all-round value |
| High-End Future-Proof | ~£1,500–£2,000 | 1440p Ultra / light 4K | Longevity and headroom |
The middle row is where most readers should be looking. The £800–£1,200 tier genuinely represents the best value across all gaming PC builds in 2026 — you get a meaningful jump in capability without paying the premium that the very top of the market demands.
Tier 1: The Entry / Budget Build (~£800–£900)
Check The Entry / Budget Build (~£800–£900) price on Amazon UK
This is your foot in the door for serious PC gaming. At around £900 you're targeting 1080p gaming at high settings in most titles — and that's not a compromise, it's the resolution the vast majority of gamers still play at. The build below is the one I'd hand to a UK first-timer without hesitation.
The graphics card is the heart of any gaming PC, and the AMD Radeon RX 9060 XT 8GB is a cracking choice for this tier. It delivers strong 1080p performance and supports FSR 3.1, AMD's upscaling tech that boosts frame rates by rendering at a lower resolution and intelligently scaling the image up. For the budget end of the market, that's exactly the kind of feature that keeps a card relevant longer.
On the processor side, the AMD Ryzen 5 9600 gives you six cores of Zen 5 architecture and excellent value. Six cores is the sweet spot for budget gaming in 2026 — enough to feed a card like the 9060 XT without bottlenecking it, and enough headroom for the background tasks of modern Windows.
The Ryzen 5 9600 pairs beautifully with a mid-range AMD GPU — six Zen 5 cores is plenty for 1080p gaming.
If you're shopping internationally or hunting bargains, there's a well-regarded US-oriented version of this tier built around the Intel Core i5-12600K, an ASRock RX 7600 GPU and an MSI MAG A750GL power supply, all-in for around $800–$850. That configuration hits 90–120 FPS in most competitive titles at 1080p and handles modern AAA games at high settings — with a clear upgrade path for later. The ASRock RX 7600 Challenger 8GB OC in particular is a tidy card: it's based on AMD's RDNA 3 architecture on a 5nm process node, with a dual-fan Challenger cooler and a 0dB mode that stops the fans entirely during light loads so your machine stays silent when you're just browsing.
Pro Tip: Dual channel is non-negotiable
Always buy your RAM as a matched kit of two sticks rather than a single large module. Running two sticks in "dual channel" mode dramatically smooths out your 1% lows — the brief stutters that ruin otherwise high frame rates. A single 16GB stick will technically work, but you're leaving free performance on the table.
What you'll actually play
This build chews through the games most people are actually buying. Fortnite, Valorant, CS2, GTA V, Minecraft and Warzone all run at 1080p high settings with strong frame rates. These are the titles that fill server browsers every night, and the entry build handles every one of them comfortably.
Tier 2: The Mid-Range Sweet Spot (~£1,000–£1,200)
Check The Mid-Range Sweet Spot (~£1,000–£1,200) price on Amazon UK
If you can stretch your budget, this is the tier I'd point most people toward. It delivers a meaningful performance step up, adds genuine 1440p capability and gives you far better future-proofing. You're spending more, but you're getting disproportionately more in return.
The processor here steps up to the AMD Ryzen 5 9600X — the higher-clocked Zen 5 chip with faster boost speeds than the plain 9600. It's designed to drive everything at 1080p ultra and most titles at 1440p high without breaking a sweat. The extra boost clock matters more than you'd think for the fast-paced games where every frame counts.
For graphics, the RTX 5060 Ti 8GB is a very capable card at this tier. NVIDIA's GPUs bring their own upscaling and frame-generation features to the table, and at 1440p the 5060 Ti gives you a comfortable margin over what the budget tier manages. This is the resolution where games genuinely start to look gorgeous, and the mid-range build is the cheapest sensible way to get there.
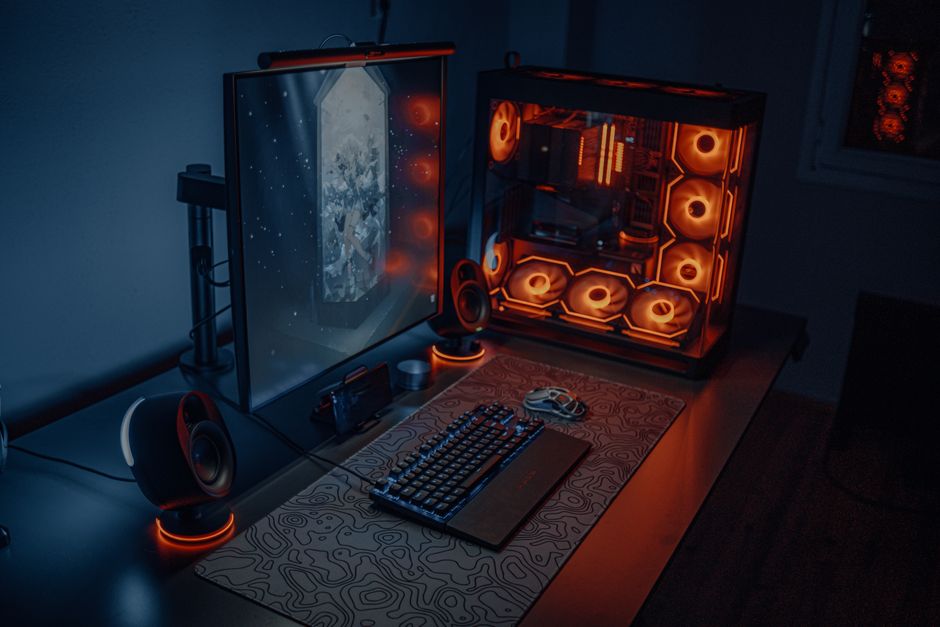
Stepping up to a 1440p-capable GPU transforms how modern games look — sharper detail, more screen real estate, and headroom to spare.
The jump from 1080p to 1440p is the single most noticeable visual upgrade you can make in a build like this. If you're buying a new monitor at the same time, budgeting for a 1440p panel here makes a lot more sense than pairing this hardware with an old 1080p screen.
Tier 3: The High-End Future-Proof Build (~£1,500–£2,000)
Check The High-End Future-Proof Build (~£1,500–£2,000) price on Amazon UK
The top tier is for readers who want to build once and not think about it again for several years. It targets 1440p ultra with light 4K capability, which means you can max out today's games and still have headroom when the next wave of demanding titles arrives. You're paying a premium for longevity here, and that's a perfectly reasonable trade if you can afford it.
This is the build that most rewards careful component choice. Because you're spending more, the temptation is to splurge on every single part — but as I'll cover below, some of that money is far better spent than others. A sensible high-end build is balanced, not just expensive.
1440p Ultra as the baseline
Everything you throw at this machine should run at maximum settings at 1440p, with smooth frame rates that hold steady even in demanding scenes.
Genuine longevity
The headroom in this tier means it won't feel slow when the next generation of AAA games lands. You're buying years, not just frames.
Light 4K on the table
While 4K ultra isn't its primary mission, this build can dip into 4K gaming for less demanding titles — a nice bonus if you've got a big telly.
How build gaming pc lifestyle.
Choosing Each Component, Explained
This is the section I wish I'd had when I built my first PC. Each part has its own quirks, and knowing where to spend and where to save will save you real money. Let's go through them one at a time.
The motherboard
Here's the truth nobody selling motherboards wants you to hear: you don't need to spend heavily on one for gaming. The performance difference between a roughly $120 B650 board and a $350 X670E board is near-zero for gaming. For the AMD builds in this guide, a solid B650 chipset board on the AM5 socket is all you need.
For the Intel-based budget configuration, the ASUS B760M-AYW WiFi D4 II strikes a lovely balance. It supports DDR4 — which keeps your RAM costs down — includes Wi-Fi 6 onboard, runs a 2.5Gb Ethernet port and fits a Micro-ATX form factor. Crucially for first-timers, ASUS's BIOS is among the most beginner-friendly in the industry. Its EZ Mode layout walks you through enabling memory XMP, setting fan curves and choosing boot priority in plain language, rather than the wall of cryptic acronyms you might fear.
RAM
Aim for 16GB as a matched 2×8 kit at decent speeds, and stretch to 32GB if you multitask heavily or you're into modding. The good news is that RAM prices have stabilised somewhat after the worst of the shortage. As a rough UK guide, expect to spend between £80 and £100 on 16GB of DDR4, or between £120 and £180 on 32GB of DDR5.
Storage
A 1TB NVMe SSD is the minimum practical storage for a 2026 gaming PC, full stop. Modern games regularly exceed 100GB, and some titles approach 200GB once you've added all the DLC and texture packs. A PCIe 3.0 or 4.0 drive as your primary disk is the way to go — the difference in real-world game loading between the two is modest, so don't agonise over it.
The PSU is where you must not cut corners
The power supply is the one component you should never cheap out on. A bad PSU can fry every other component in your build — turning a money-saving decision into the most expensive mistake of your life. Aim for a 550–650W unit, 80+ Gold rated where you can, from a reputable name like Corsair, Seasonic, EVGA or be quiet!. Size it roughly 150–200W above your system's actual draw to give yourself comfortable headroom.
The case
Cases run from low-cost £50 models all the way up to airflow-enhancing £150+ chassis. For a first build, my strongest advice is this: small form factor builds are not recommended for new builders. If you're not set on a specific size, err on the larger side — a bigger case is genuinely easier to work in, with more room for your hands, cables and cooling. You can always go smaller on your second build once you know what you're doing.
Building It Yourself — Pros
- More frames per pound than any equivalent pre-built machine
- You understand your machine and can upgrade or repair it yourself
- Clear, sensible upgrade path built in from day one
- Beginner-friendly BIOS options make first boot far less scary
- You choose exactly which parts to prioritise
Things to Be Aware Of
- 2026 RAM and SSD prices are up roughly 35% on late 2025
- A poor-quality PSU can damage every other part
- Small cases are fiddly and best avoided first time round
- Budgets below ~£800 struggle to deliver a viable gaming build
Performance Expectations by Tier
Numbers help set realistic expectations, so here's a rough visual of where each build sits. These bars represent relative gaming capability across the three tiers — handy for seeing how the spend translates into headroom.
The entry build comfortably delivers 90–120 FPS in most competitive titles at 1080p — which, for the esports games that dominate playtime, is exactly what you want. The mid-range build moves the goalposts to ultra settings and 1440p, and the high-end build gives you that 1440p ultra baseline with the occasional 4K outing on the cards.
Frame rate matters more than resolution for fast competitive games. If you mostly play Valorant or CS2, the entry build's high frame rates at 1080p will serve you better than spending extra on resolution you won't notice in the heat of a match.
The Step-by-Step Assembly Walkthrough
Right — parts on the table, anti-static wristband optional but reassuring, a cup of tea within reach. Here's the order I build in, which keeps everything sensible and avoids the classic "now I can't reach that" moments.
Prep the motherboard outside the case
Fit the CPU first — line up the triangle marker on the chip with the one on the socket, drop it in gently, no force whatsoever. Then clip in your RAM (in dual channel, two sticks) and screw your NVMe SSD into its slot.
Install the CPU cooler
Apply a pea-sized blob of thermal paste if your cooler doesn't come pre-pasted, then mount it firmly. This is far easier to do now, with the board flat on your desk, than later inside a cramped case.
Mount the motherboard in the case
Fit the I/O shield first if it's separate, line up the standoffs, and screw the board down. This is exactly why I recommend a larger case for your first build — room to move makes this step painless.
Install the PSU and route cables
Drop the power supply into its bay and feed your cables through before you fit the graphics card. Getting your power and front-panel cables roughly placed now saves a lot of fumbling later.
Fit the graphics card last
Slot the GPU into the top PCIe x16 slot until it clicks, screw it to the case, and connect its PCIe power cables. Doing this last keeps the big card out of your way during the fiddly bits.
First boot and BIOS setup
Power on, head into the BIOS, and enable your memory's XMP profile so your RAM runs at full speed. On a beginner-friendly board like the ASUS B760M, the EZ Mode makes this a couple of clicks rather than a research project.
Build the motherboard up outside the case first — fitting the CPU, RAM and SSD on your desk is far easier than reaching into a chassis.
Where to Buy in the UK
Once you've settled on your tier, you'll want to source the parts. Specialist UK system builders and retailers list these components and configurations regularly, and the major online marketplaces stock the GPUs, CPUs, RAM kits and PSUs named throughout this guide. Prices on memory and storage in particular shift quite a bit month to month thanks to the ongoing shortage, so it's worth checking current figures before you commit to a full basket.
Entry Build
RX 9060 XT 8GB · Ryzen 5 9600 · 1080p High
Sweet Spot
RTX 5060 Ti 8GB · Ryzen 5 9600X · 1440p High
Future-Proof
1440p Ultra · light 4K headroom
Because memory and SSD pricing is so volatile this year, treat the RAM and storage portion of your budget as a moving target. Buying the GPU and CPU first, then watching for a good week on memory, can shave a useful amount off your total.

Person using how build gaming pc.
Common Beginner Mistakes to Avoid
Over the years I've seen the same handful of slip-ups catch out first-time builders again and again. Sidestep these and your build will go smoothly.
Overspending on the motherboard
That £350 board won't give you more frames than a good £120 one. Put the difference toward your GPU or a better SSD instead.
Buying a cheap, unbranded PSU
This is the false economy that can cost you everything. Stick to Corsair, Seasonic, EVGA or be quiet! and you'll sleep easier.
Picking too small a case
Small form factor builds look great but fight you at every turn. For a first build, bigger is better — go larger if in doubt.
Forgetting to enable XMP
Plenty of first builds run RAM at default slow speeds because XMP was never switched on in the BIOS. Two clicks unlocks the performance you paid for.
Overall Rating: Building in 2026
So how does the whole proposition of building your own PC stack up this year, with prices where they are? Here's my honest scorecard.
Even with the RAM and SSD shortage taking the shine off, building your own machine remains the smartest way to spend your gaming money in 2026. The upgrade path scores highest of all — because once it's built, you can swap in a better GPU or more storage down the line without starting from scratch.
Who Should Build Which Tier
The Competitive Player
If your nights are spent in Valorant, CS2 or Warzone, the Entry Build's high frame rates at 1080p are all you need. Save the cash.
The All-Rounder
Mix of AAA single-player and online games, and you'd like things to look great? The Mid-Range Sweet Spot is built for you.
The Long-Term Investor
Want to build once and forget about upgrades for years? The High-End Future-Proof Build gives you 1440p ultra with real headroom.
Frequently Asked Questions
The Verdict
Building your first gaming PC in 2026 is absolutely still worth it — even with memory prices nudging the maths upward. The trick is to match your build to how you actually play. The Entry tier around £800–£900, anchored by the Radeon RX 9060 XT and Ryzen 5 9600, is a brilliant 1080p machine that handles everything from Fortnite to modern AAA titles at high settings. The Mid-Range Sweet Spot at £1,000–£1,200 is where I'd send most people, with the Ryzen 5 9600X and an RTX 5060 Ti opening the door to lovely 1440p gaming. And the High-End Future-Proof build at £1,500–£2,000 buys you 1440p ultra and years of headroom.
Spend wisely on the parts that matter — the GPU and a quality PSU — go easy on the motherboard, and give yourself a roomy case to work in. Do that, follow the assembly order above, and you'll end up with a machine you understand, can upgrade, and built with your own two hands. There's genuinely no better feeling in this hobby than that first boot.
That first successful boot — when the fans spin and the BIOS appears — is the moment every PC builder remembers. Yours is closer than you think.